Making Krälgor: Part 2

Here at long last is the second part to making Krälgor.

Phase 5 Base Painting

So at this face I put down all of my basic colors that I would build upon.  Note that I tried to do NMM (Non Metallic Metal), but after several horribly botched attempts I gave up and opted for metal.

Phase 6 Final Layers

Then next step was to do the final layers that would be the actual colors of things I was going to be adding more detail to later.  Basically this made the colors more solid.

Phase 7 Details and Freehand

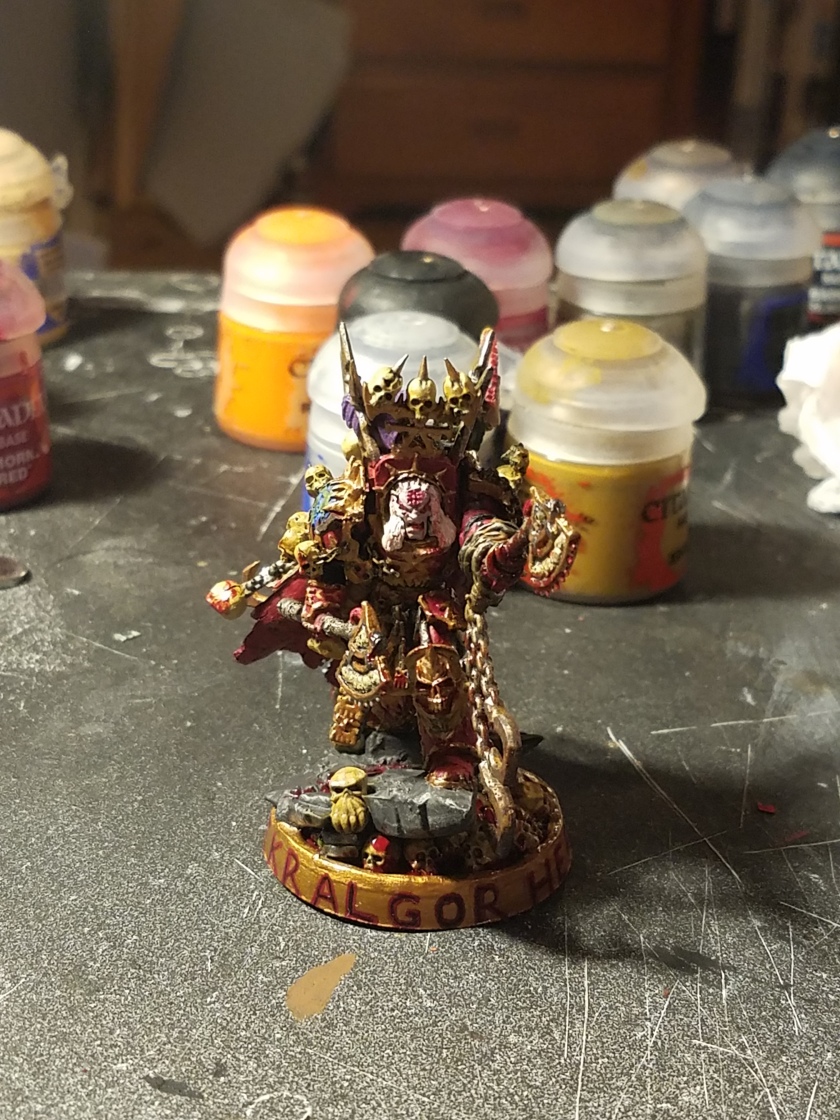
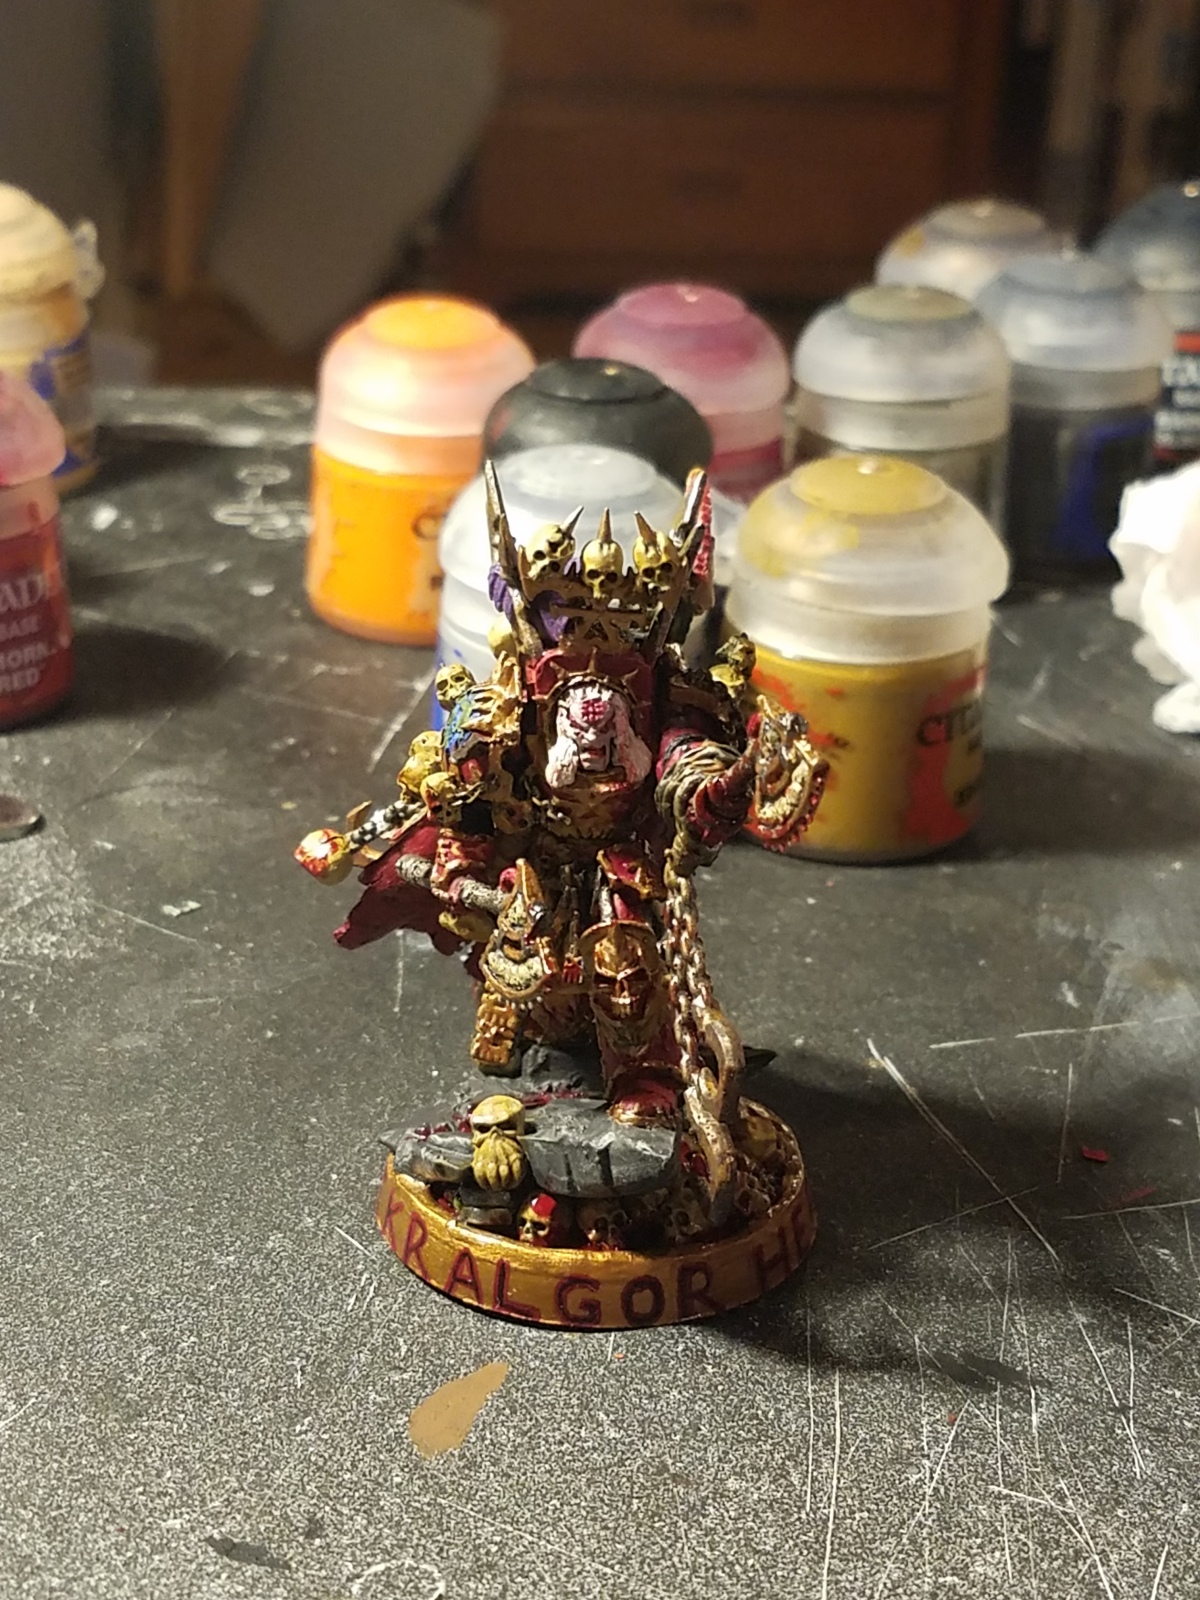
Finally I got to fleshing out the details and doing some freehand. I did some Chaos Runes on the armor to (try) and make it look like they were burning.  And I wanted to add some screaming skulls and faces on the inside of the cape.  I also wanted to give him the classic World Eaters tribal tattoos like you see on Angron.

Phase 8 Final Details

Lastly  I touched things up like the XII on the flayed skin on the leg and added more definition with the final details.  I also painted and varnished the base.

And here he is complete!

20180107_180526

New CSM Models: Iron Warriors.

I finally finished painting the new CSM kit as Iron Warriors. First IW units I have ever painted so all and all I’m pretty pleased with the way they turned out. I decided early on I was going to just paint these guys for the tabletop and not put to much time and detail on them. I’m both happy and embarrassed to say that this is the fastest I have ever painted this many models at once before lol.

Looking at art of iron warriors most of it will show them in either really shiny gun metal armor or armor that is so dark it is almost black. Most paint schemes I have seen people do often have them metallic but extremely drab so that they look very dull, or extremely shiny so that their armor looks like it gets polished 20x a day. I decided I wanted to go with something in the middle that would also be easy/fast(ish) to paint. The look I was ultimately going for was to start out shiny, and darken it up to look very worn as if it had been dirtied bad blacked from a siege. Then to keep it from looking to drab I used a lighter silver to do some subtle edge highlights to make sure it kept the shiny look while also being very drab. On the bases I new I wanted a dirty battlefield look, and I’m quite pleased with the result I got on the bases. Since I was going for quick tabletop ready results I opted to use the water slide decals instead of free hand. My past experiences with them were not good at all, but after more research and a new method I am very pleased with how easy and fast it was to do them.

If you want to know any of the paints, steps, techniques or any other step of the process just let me know and I will be happy to tell you!

Here they are posed with my scratch built terrain.